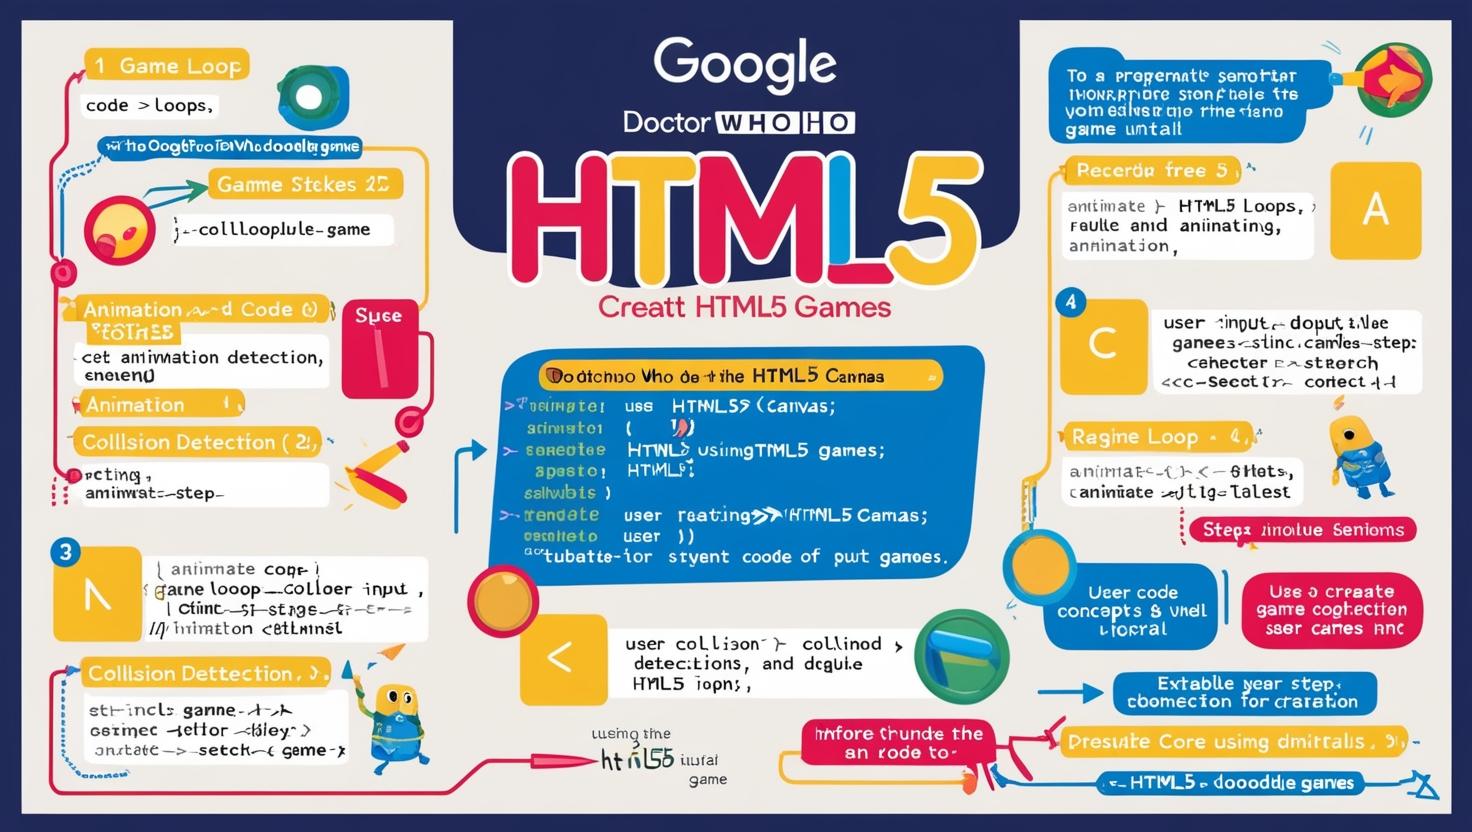
How to Create HTML5 Games Like Google's Doctor Who Doodle: A Step-by-Step Guide
If you've ever played Google's iconic Doctor Who Doodle, you know just how fun and engaging it is. The game was a celebration of the 50th anniversary of Doctor Who, allowing players to step into the shoes of the Doctor and go on a time-traveling adventure. But what if you want to create your own HTML5 game like this? Well, you're in luck! In this guide, we'll walk you through the process of creating HTML5 games that are just as exciting and interactive as Google's Doctor Who Doodle.
What Is HTML5 Game Development?
HTML5 game development refers to the process of building games using HTML5 technologies such as HTML, CSS, and JavaScript. These games are playable directly in a web browser without the need for plugins or special software. HTML5 games are incredibly popular because they are easy to share, cross-platform compatible, and lightweight.
Google’s Doctor Who Doodle used HTML5, CSS, and JavaScript to bring the Doctor’s universe to life, and you can use these same technologies to create your own web-based games.
Step 1: Plan Your Game Concept
Before diving into code, you need to have a solid game concept in mind. Google's Doctor Who Doodle is simple yet engaging, and this is key. Think about the type of gameplay you want to include — platformers, puzzles, or action-packed adventures. Keep your game mechanics clear and straightforward to ensure that players can easily pick it up and enjoy it.
For example, you could design a game that combines time-traveling mechanics, just like Doctor Who, where players must solve puzzles across different time periods or dimensions. Choose a central theme, style, and set of mechanics that will captivate players.
Step 2: Set Up Your Development Environment
To get started with HTML5 game development, you'll need a few tools:
- Code Editor: Popular options include Visual Studio Code, Sublime Text, or Atom. Choose the one that feels most comfortable to you.
- Web Browser: Use a modern browser like Google Chrome or Mozilla Firefox to test your game.
- Game Framework/Engine: Although you can build a game from scratch, using a framework can make things a lot easier. Consider using Phaser.js, a fast and free open-source framework that’s widely used for HTML5 game development.
Once you have these tools, you're ready to start coding!
Step 3: Build Your Game World
In the case of the Doctor Who Doodle, the game world is based on iconic locations from the Doctor Who universe. For your own game, start by creating basic game environments and assets. You can use HTML5’s
Here’s a simple code snippet to set up your game canvas:
In game.js, you can start by drawing simple shapes or objects to represent your game world. Use JavaScript’s drawing functions to design backgrounds, obstacles, characters, and collectibles.
Step 4: Create Interactive Elements
For the Doctor Who game, the TARDIS and various Doctor characters were interactive elements that players could control. Similarly, in your game, you’ll need to design characters and objects that players can interact with.
Use JavaScript event listeners like keydown or click to capture user input and trigger actions. For example, you can create a player character that moves based on the arrow keys:
let player = { x: 100, y: 100, width: 50, height: 50 };

document.addEventListener('keydown', (event) => {
  if (event.key === 'ArrowUp') {
    player.y -= 5;
  }
  if (event.key === 'ArrowDown') {
    player.y += 5;
  }
  if (event.key === 'ArrowLeft') {
    player.x -= 5;
  }
  if (event.key === 'ArrowRight') {
    player.x += 5;
  }
});
Step 5: Add Game Mechanics and Challenges
To keep players engaged, you’ll need to add game mechanics like puzzles, enemies, or obstacles. For example, if you’re building a time-travel game, you might have challenges where players must solve time-based puzzles or defeat enemies using time-based powers. You can implement these using JavaScript logic and event handling.
For combat or challenge-based games, you can use collision detection and score systems to make the game more interactive and rewarding. For example, a simple collision detection between the player and an enemy might look like this:
function checkCollision(player, enemy) {
  return player.x < enemy.x + enemy.width &&
         player.x + player.width > enemy.x &&
         player.y < enemy.y + enemy.height &&
         player.y + player.height > enemy.y;
}
Step 6: Polish Your Game
Once the core mechanics are in place, it’s time to focus on polishing your game. Add animations, sounds, and transitions to make the experience more immersive. You can use CSS animations for smoother movement or integrate libraries like Howler.js for background music and sound effects.
Step 7: Test and Launch
Now that your game is functional, it’s time to test it. Make sure it runs smoothly across different browsers and devices. Debug any issues and fine-tune the performance. Once you're satisfied, host your game online. You can use platforms like GitHub Pages or Netlify to easily publish your game for free.
Step 8: Promote Your Game
After your game is live, the fun doesn’t stop there! Share it on social media, forums, and gaming communities. Gather feedback and keep improving your game based on player input.